
How do I design a sphere inside a cube?
1. Open Fusion 360.
2. Left click on 'Sketch' then click 'Rectangle'.
3. Click on the XY plane.
4. Draw square 25mm x 25mm.

5. Extrude the box to 12.5 mm

6. Select MODIFY Shell, click on the top surface of the box. Wall thickness 2mm.

7. Select CREATE Mirror. The object is the box and the mirror plan is the top surface of the box.


10. Repeat steps 8 and 9 on 2 other sides.
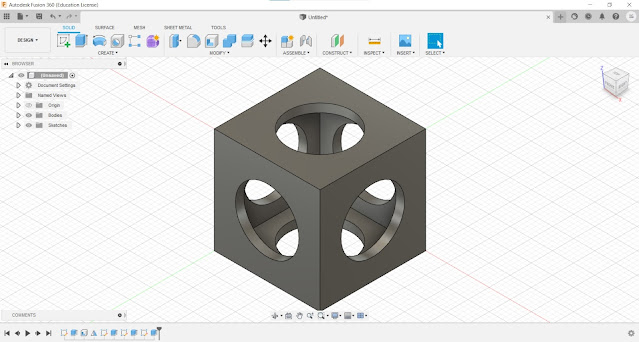
11. Select MODIFY Fillet and then left-click on each of the 12 corners. Fillet 1.5mm.

12. Select CONSTRUCT Offset plane. Offset plane to -12.5mm.

13. Select SKETCH Centre Diameter Circle tool and select the offset plane. Sketch 16mm circle.

14. Make a semicircle from the 16mm circle. By sketch the straight line and then select MODIFY Trim.

15. Select CREATE Revolve.


Why it could not be easily made subtractively?
It is because the ball is trapped inside the cube. It only can be replicated by printing in one go using a 3D printer.
Sphere inside cube
Cura settings using Creality Endure 3

My hero shot

Reflection
I feel that the 3D printing of a sphere inside a cube is really fun. It makes me think that how powerful the 3D printer technology is. There are some challenges that occur after finishing the printing, the support for the sphere is quite thick and it's hard to take out. Next time, I will increase the diameter of the sphere so that there is less support and easy to take out.